


product releases
March Product Release 2025
New accessibility contrast checker, footer control in the navigation menu builder for better event management.
blognews
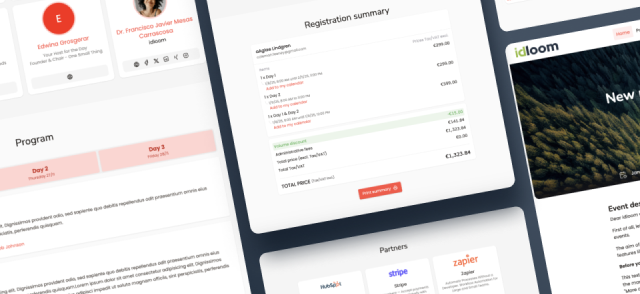
New event website design template
idloom’s new event website template meets EAA standards and offers a sleek, accessible experience for event registration and attendee…
product releases
February Product Release 2025
Enhance your event website with idloom’s content and new navigation menu builder, and offer your audience a centralized platform for event…

case studies
EPTDA’s Event Management Evolution: From Frustration to Automation
Discover how EPTDA transformed its event planning process with idloom, eliminating manual tasks and improving efficiency.
user guides
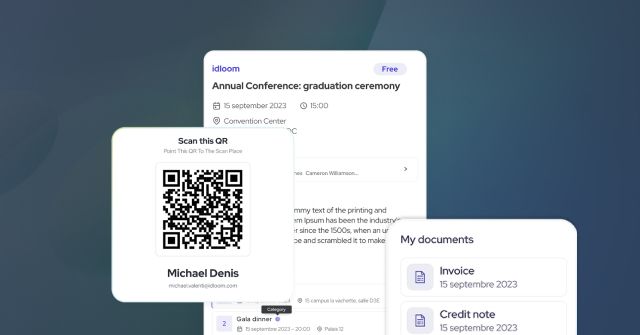
A centralized solution for attendees to manage event registrations
Attendee hub simplifies event registration by providing a centralized space for attendees to manage their events, update registrations, and…
user guides
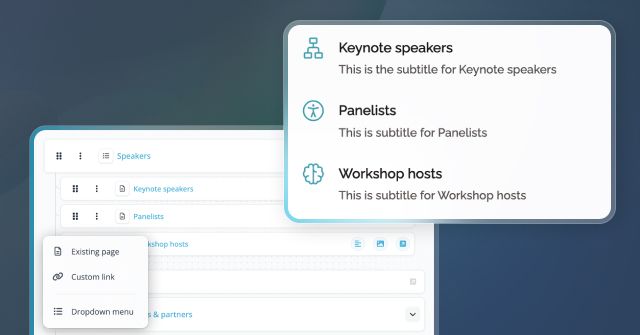
Structure your event website content & navigation for the ultimate browsing experience
Structure and navigate your event website with idloom’s enhanced content and menu builder. Add pages, links, and dropdowns for a seamless…
user guides
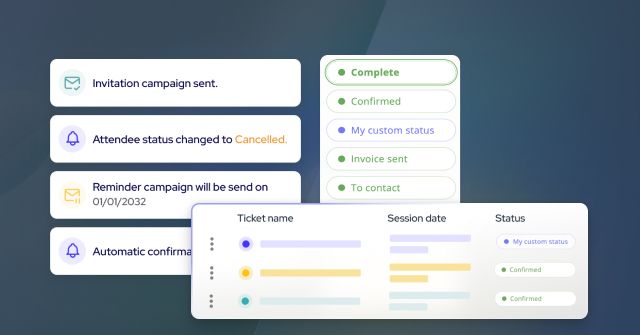
Optimize event registrations with custom attendee registration statuses
Elevate your events to new heights by unlocking the power to craft personalized attendee registration statuses.
product releases
January Product Release 2025
Manage invoice payments with payment reminders and connect idloom with 7000+ apps - no coding required.
user guides
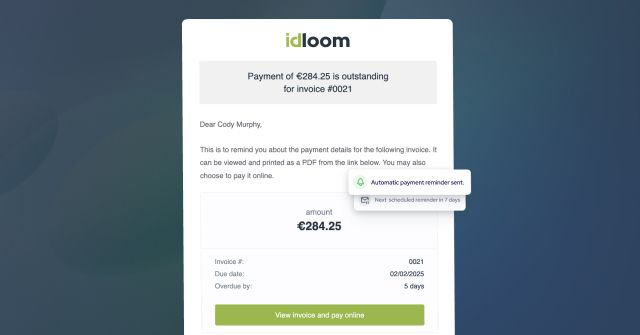
Automate payment reminders & track invoices for better cash flow
Easily manage invoice payments with idloom’s payment reminders. Optimize cash flow and reduce late payments.
user guidesblog
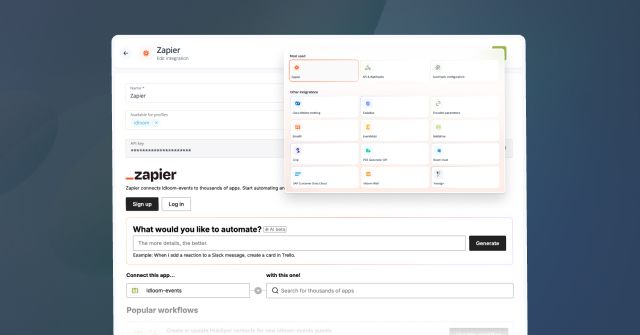
idloom & Zapier integration: connect your event management software to 7,000+ apps
Easily connect idloom with over 7,000 apps via Zapier to automate event management, streamline workflows, and boost productivity—no coding…

product releases
December 2024 Product Release
From a sleek new event website template to personalized file access management, and more… explore all the new enhancements we’ve just…
user guides
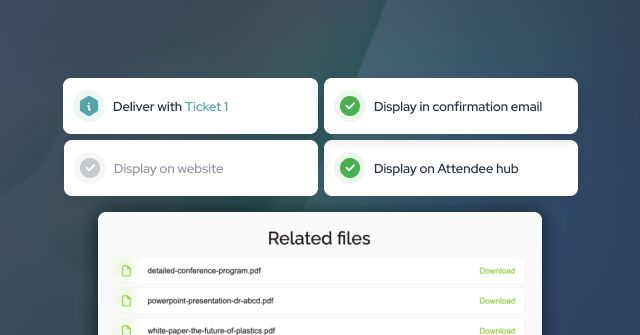
A Complete Guide to Uploading, Sharing, and Managing Files
Learn how to upload, manage, and share files with idloom to streamline event communication and deliver tailored content to your attendees.

user guides
Dynamic Data Integration: A Guide to Prefilled Forms in idloom
Learn how to seamlessly integrate data into idloom forms using secure URL parameters and encrypted JSON, ensuring efficient, customizable,…