


blognews
AI event management: how idloom built Barnum
Barnum is idloom's AI assistant, built into the platform to reduce the operational load of event management. Since September 2025, Barnum…
user guides
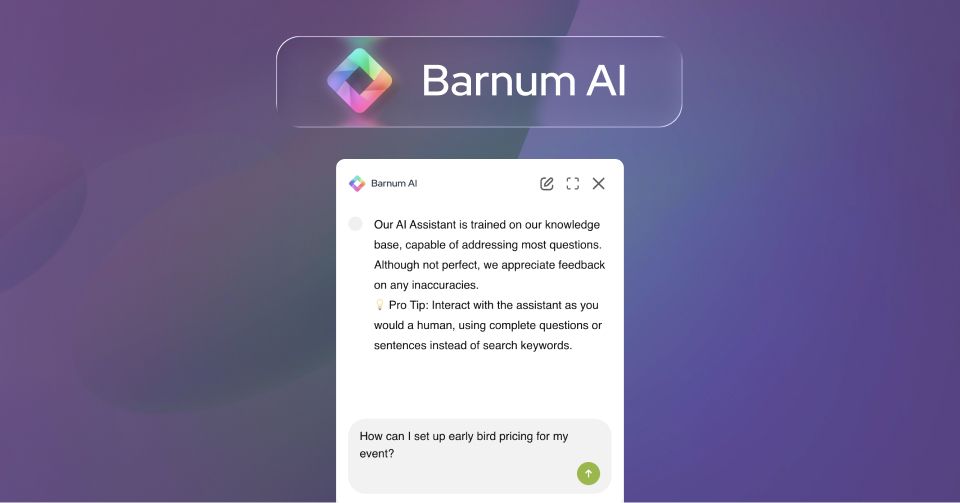
Barnum AI assistant for your attendees
Add idloom's AI assistant to your event website. Answer attendee questions automatically in any language, and train it with your own content…
user guides
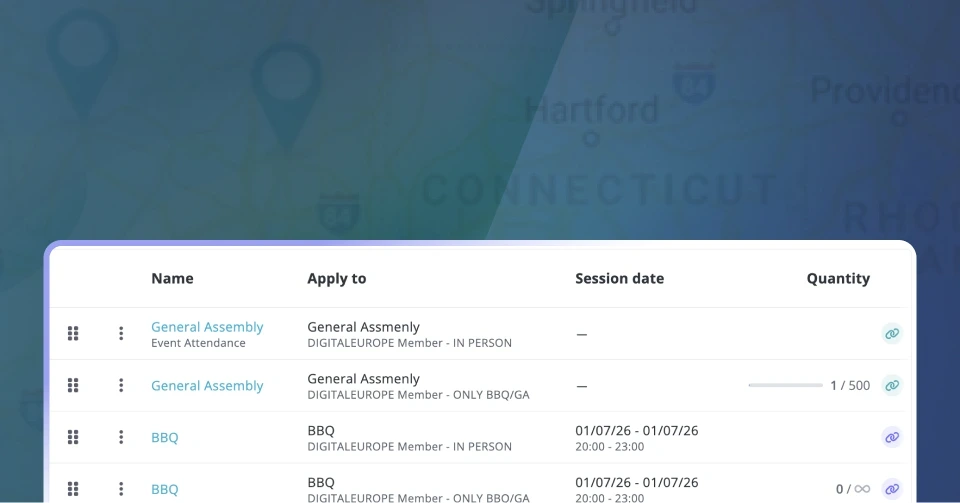
How to set up participation categories, groups, and options in idloom
idloom's ticket structure is built on three layers: participation categories, option groups, and options. Categories are mandatory; groups…
user guides
How to create custom event badges in idloom
idloom's badge module lets event organizers design, segment, and print attendee badges directly from the event backend. This guide covers…
blog
One event, multiple locations and dates
idloom manages virtual, in-person, and hybrid events at two levels: a default location and date for the event as a whole, and independent…
blog
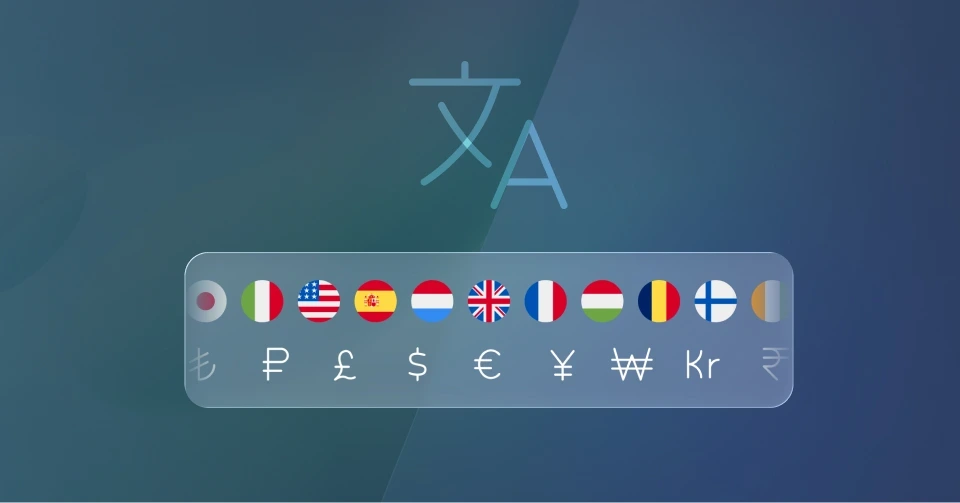
idloom supports multilingual event websites in 20+ languages
idloom lets organisers publish multilingual event websites, registration forms, and automated communications from a single account, in more…
user guides
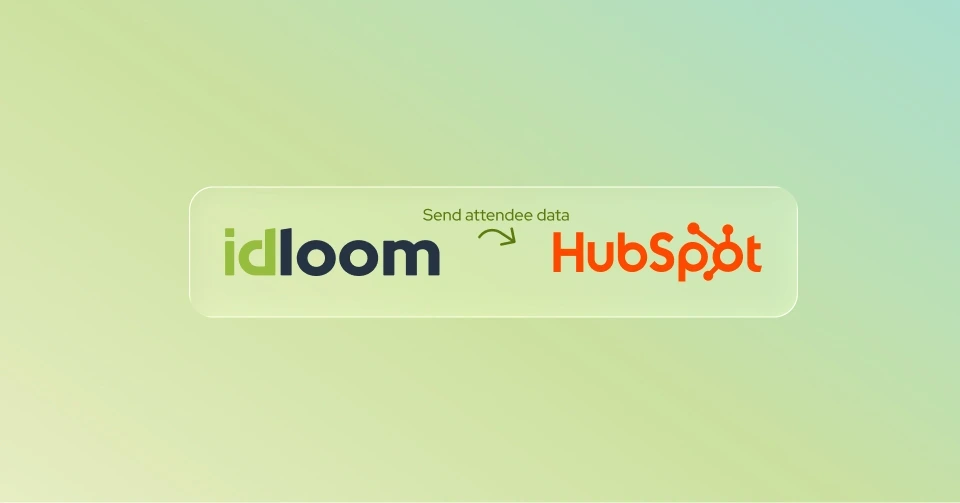
How to send attendee data to HubSpot using Structured JSON Payload
This guide explains how to configure idloom's Structured JSON Payload mode to create HubSpot contacts from attendee registrations — covering…
user guides
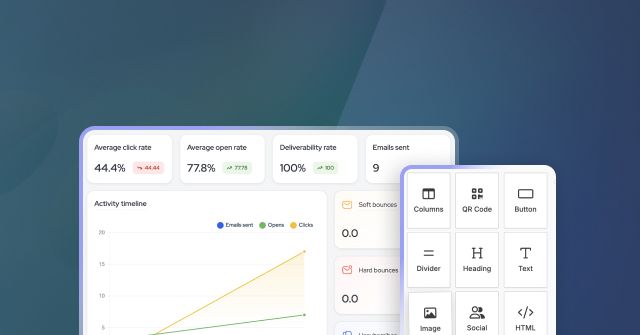
Event email marketing: campaigns, templates, and performance tracking
idloom's emailing module covers the full campaign workflow inside your event management platform. This guide explains how to create and send…
product releases
Latest Product Release 2026
Introducing two new features: idloom's AI assistant to support your attendees, and customizable JSON payloads for your API and webhook…

user guides
Send custom JSON payloads from idloom
Shape the exact JSON idloom sends to your CRM or webhook endpoint.
product releases
February Product Release 2026
Watch recording of our live session. Introducing idloom pay, updating invoices and new e-invoicing enhancements.
user guides
Activate idloom pay and start collecting payments quickly
Learn how to onboard to idloom pay, powered by Shift4, and start processing secure payments directly within your event registrations.

blognews
Choosing the Best Event Management Software for Your Event
Are you looking for the ideal event management solution but feeling overwhelmed by the options? Selecting the right technology is a…
product releases
November Product Release 2025
Watch recording of our live session. Introducing our new emailing module, idloom pay, collecting down payments and archiving events.